

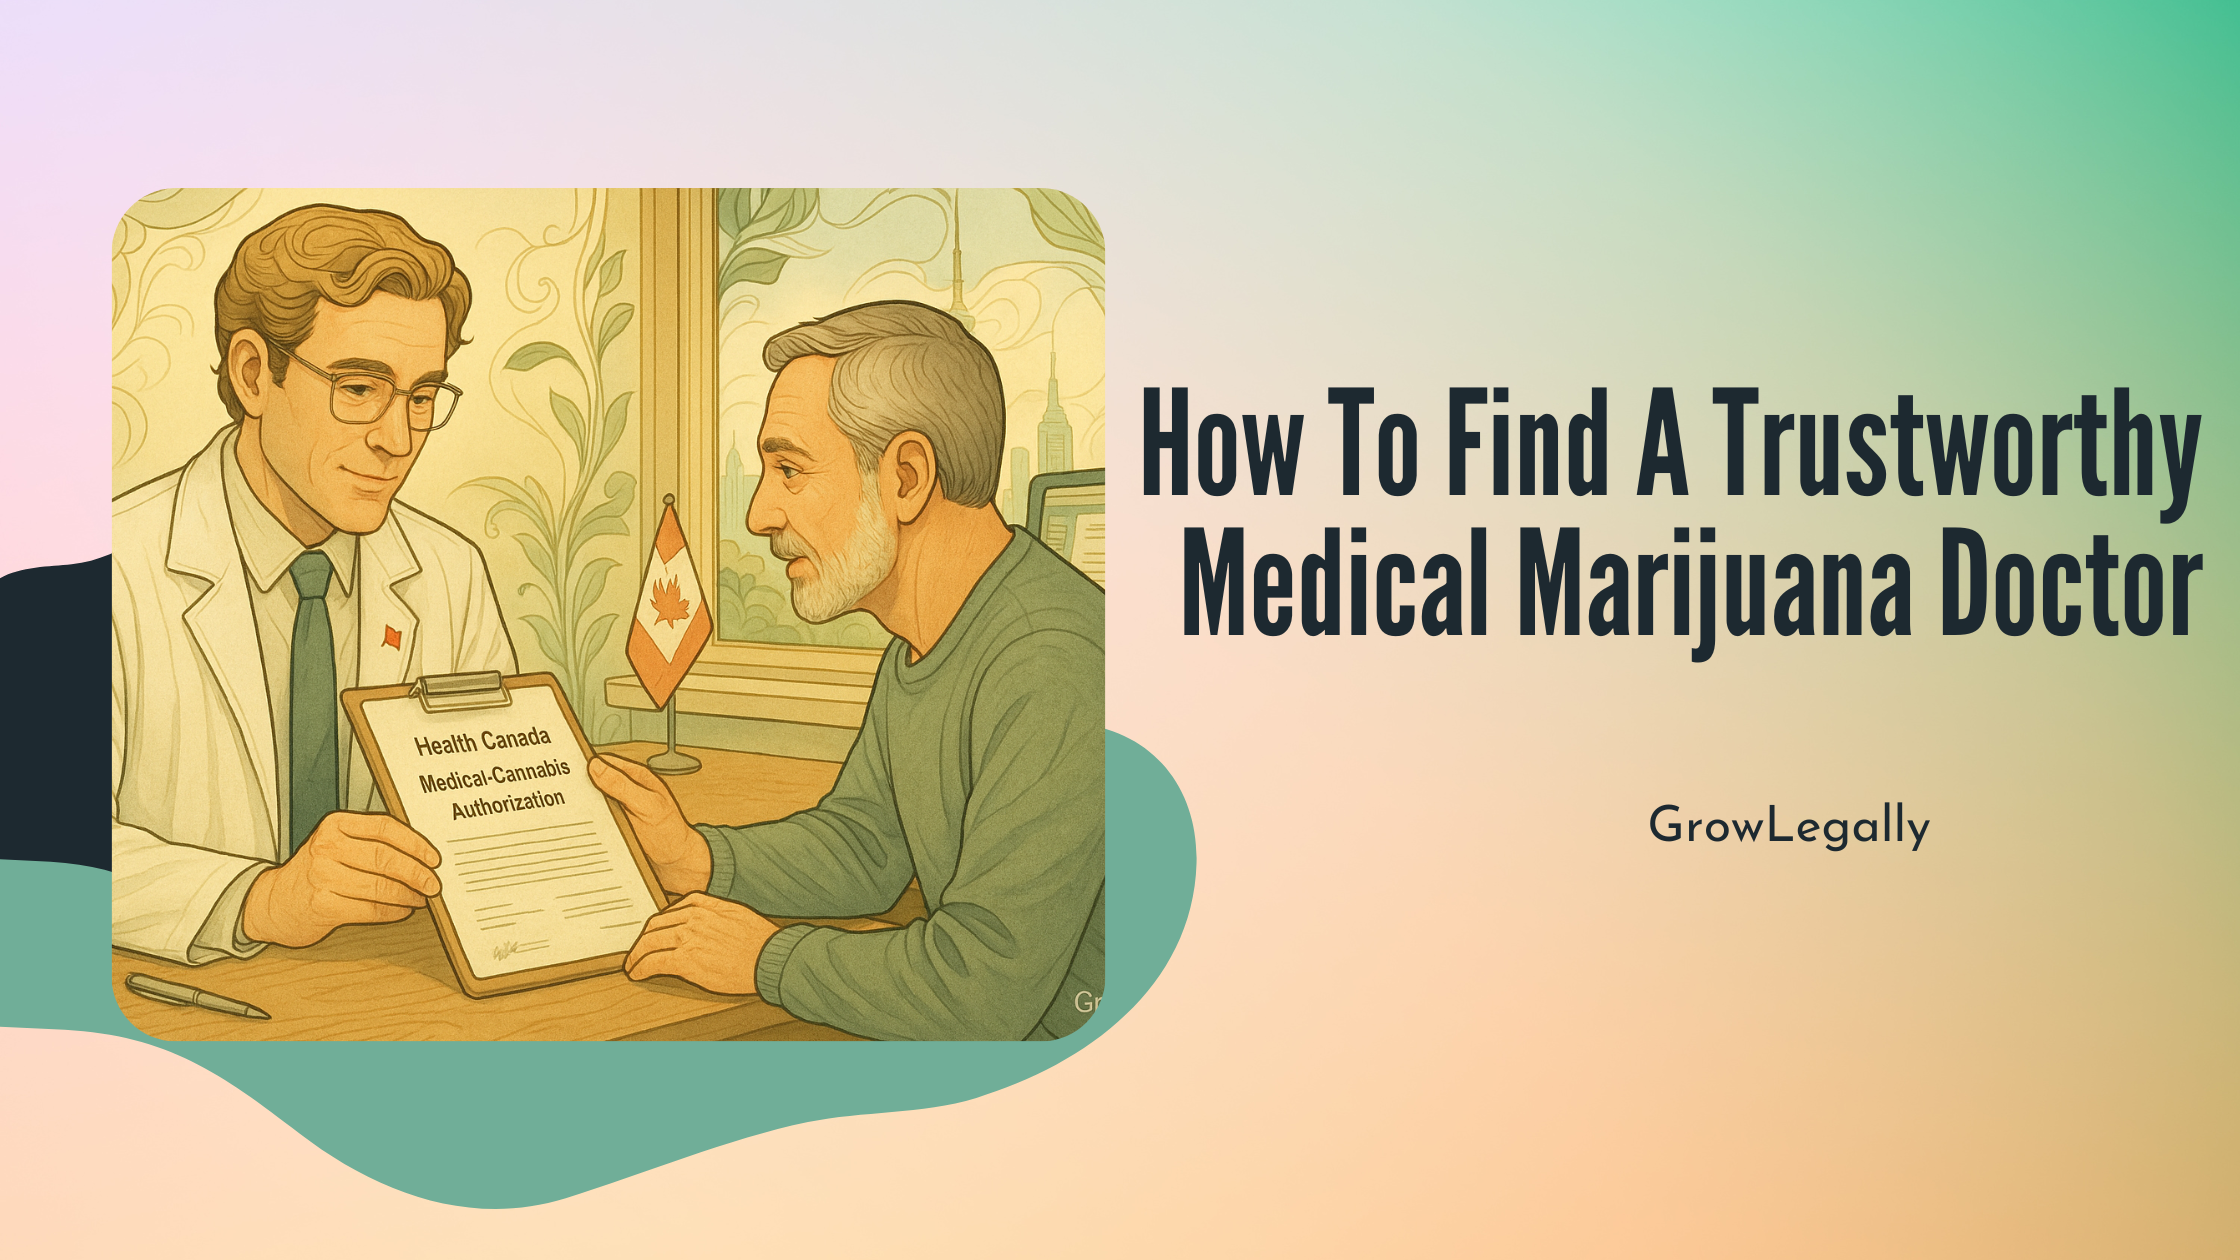
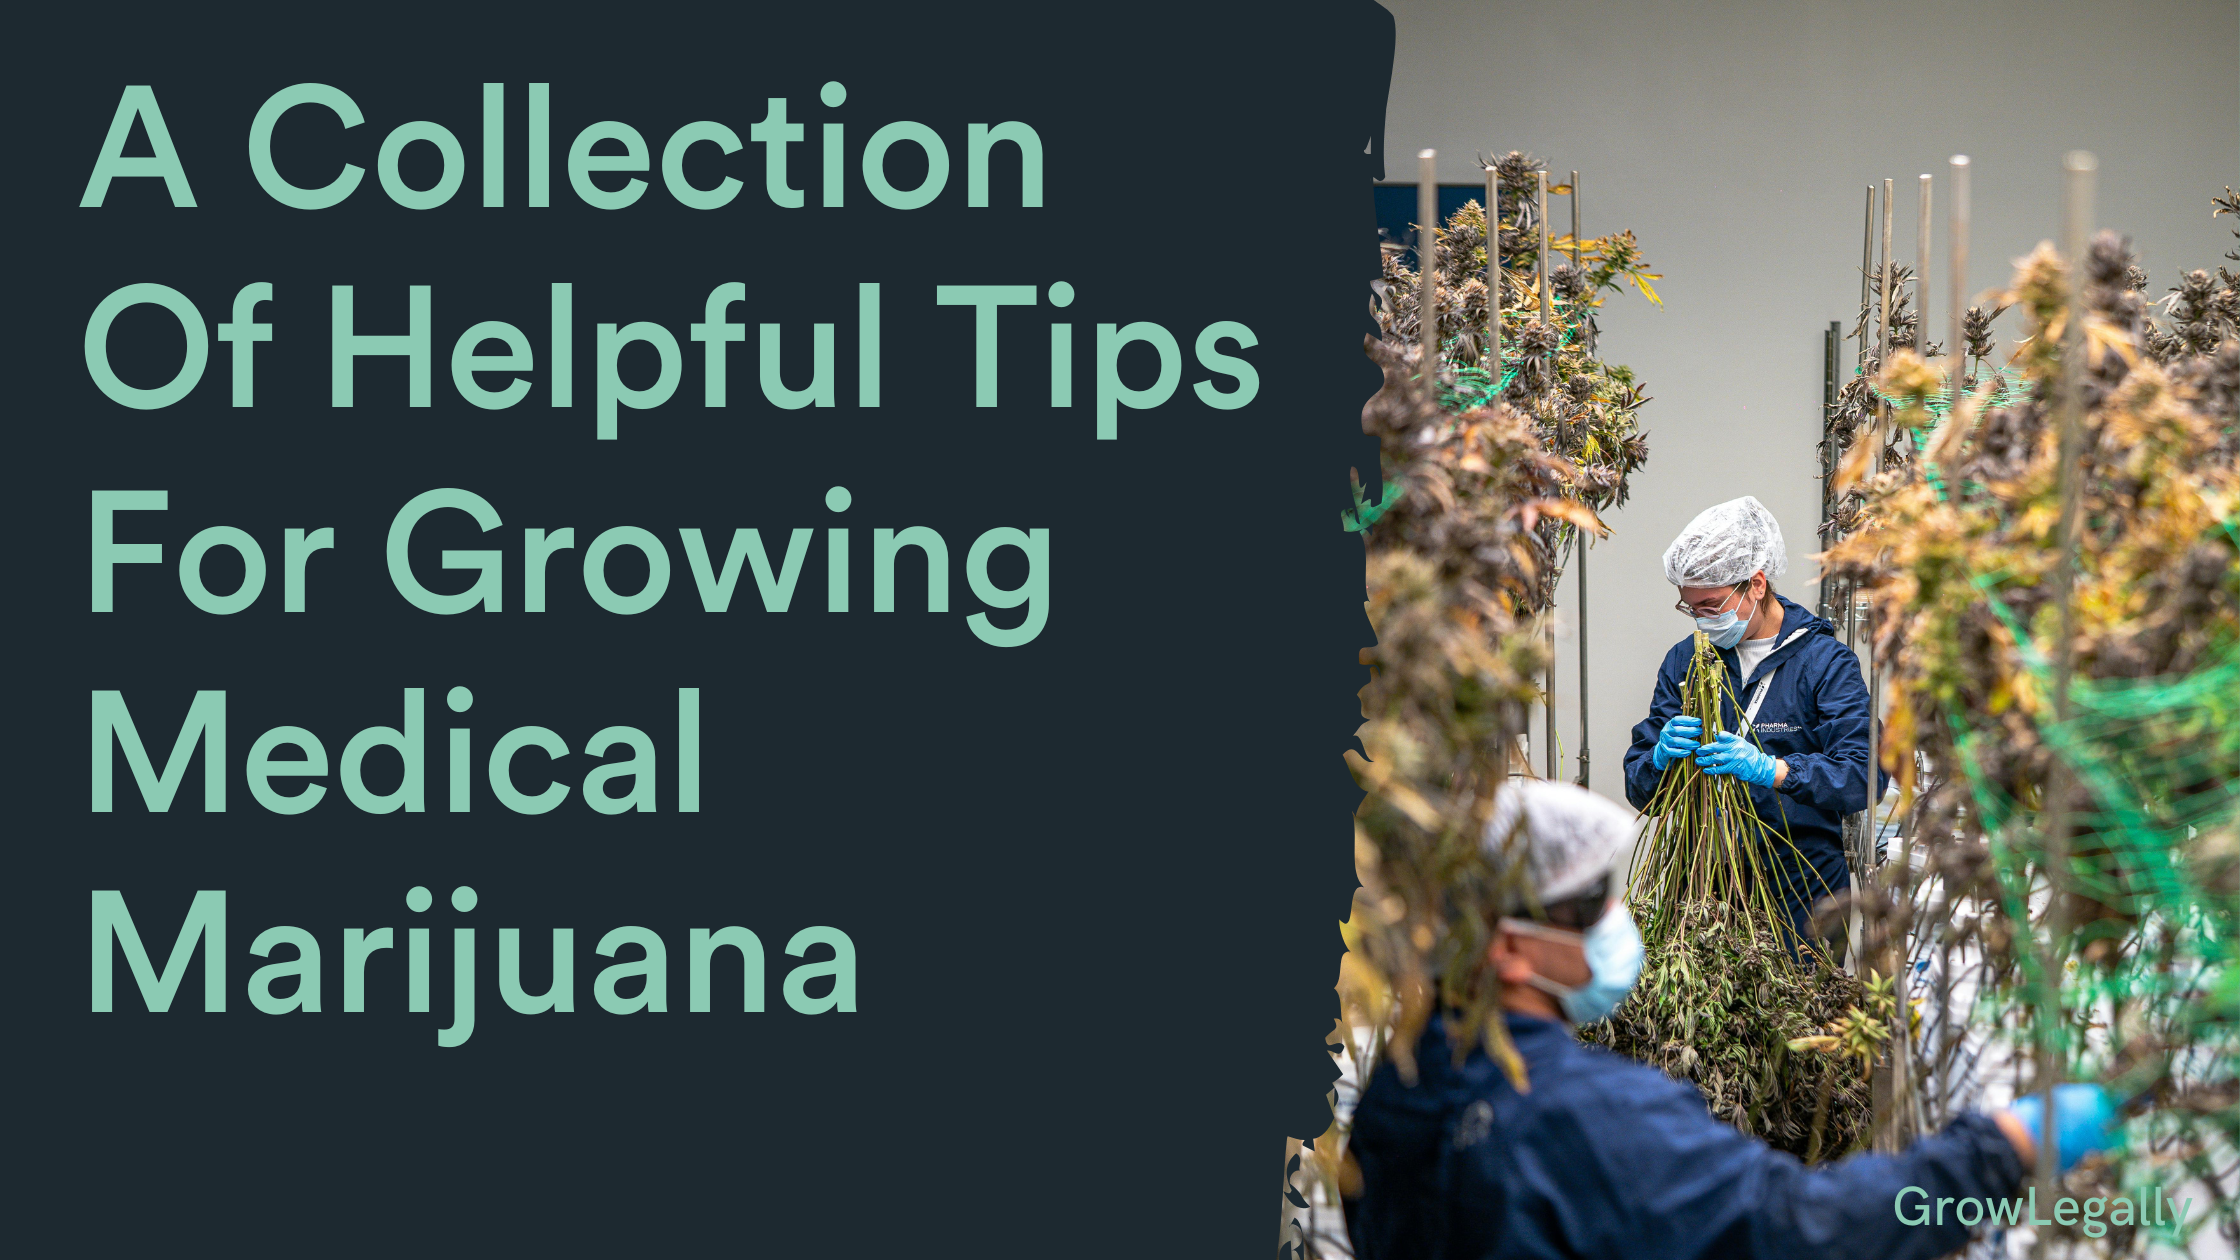
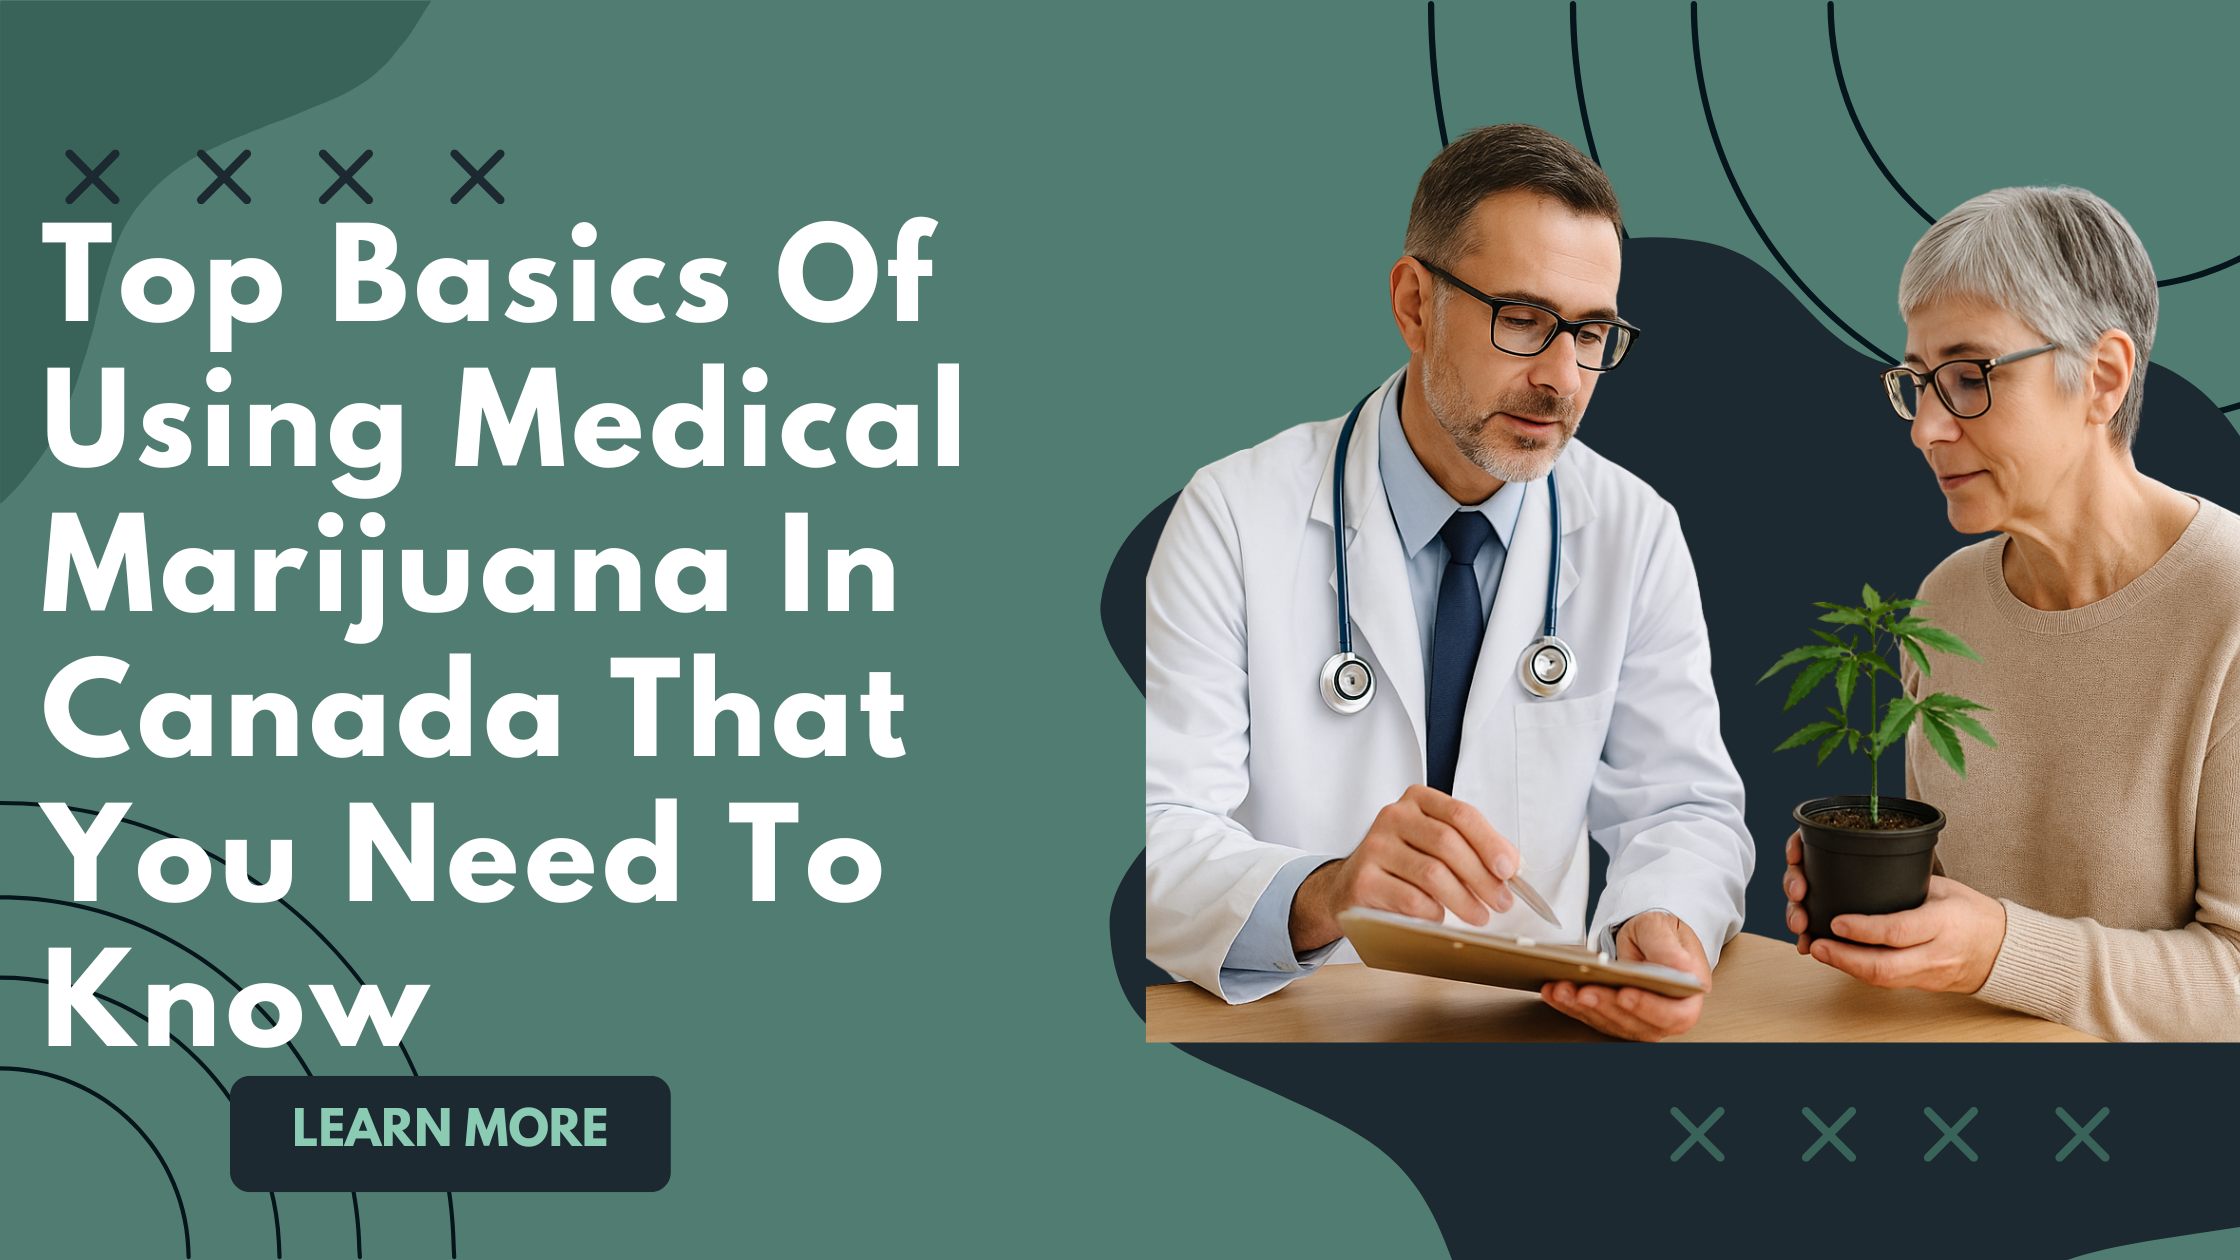
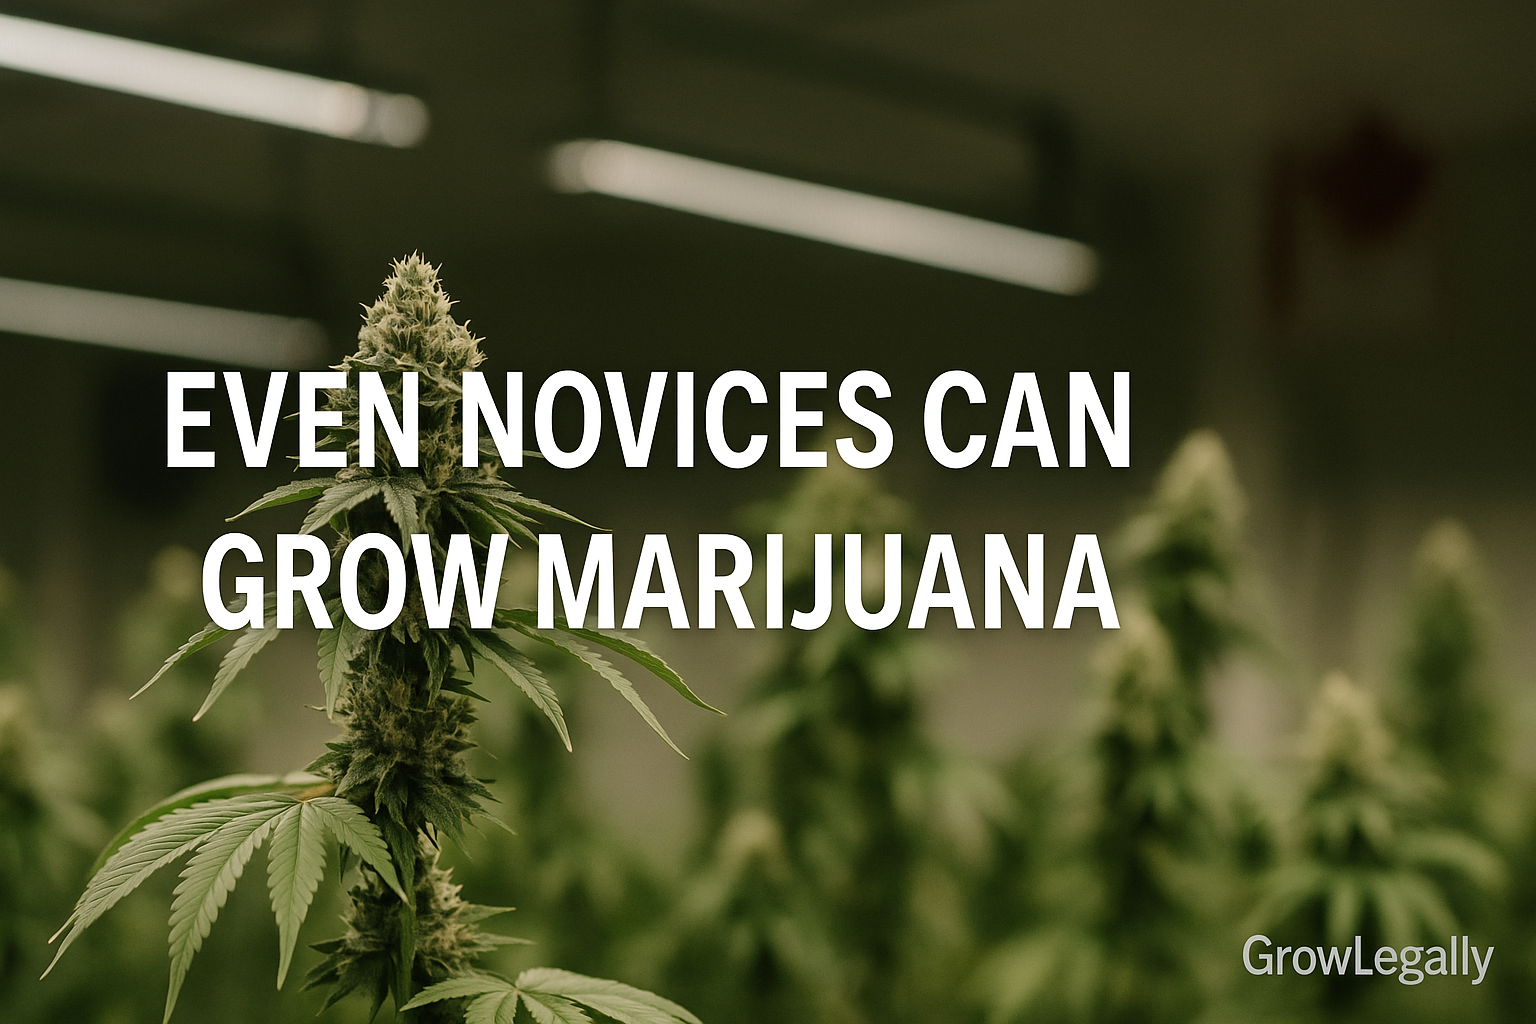
Top Tips To Dry Your Marijuana Plants Outdoors
It's finally time to reap the rewards of your hard work! Once your cannabis plants have been harvested, the next step is to dry them carefully and securely. This stage determines how smooth, potent, and safe your medicine will be. Drying isn’t just about removing moisture—it’s about preserving the cannabinoids and terpenes your plants developed throughout the grow cycle. For patients cultivating under a personal grow licence or those operating with a commercial cannabis licence, mastering this stage ensures both quality and compliance.
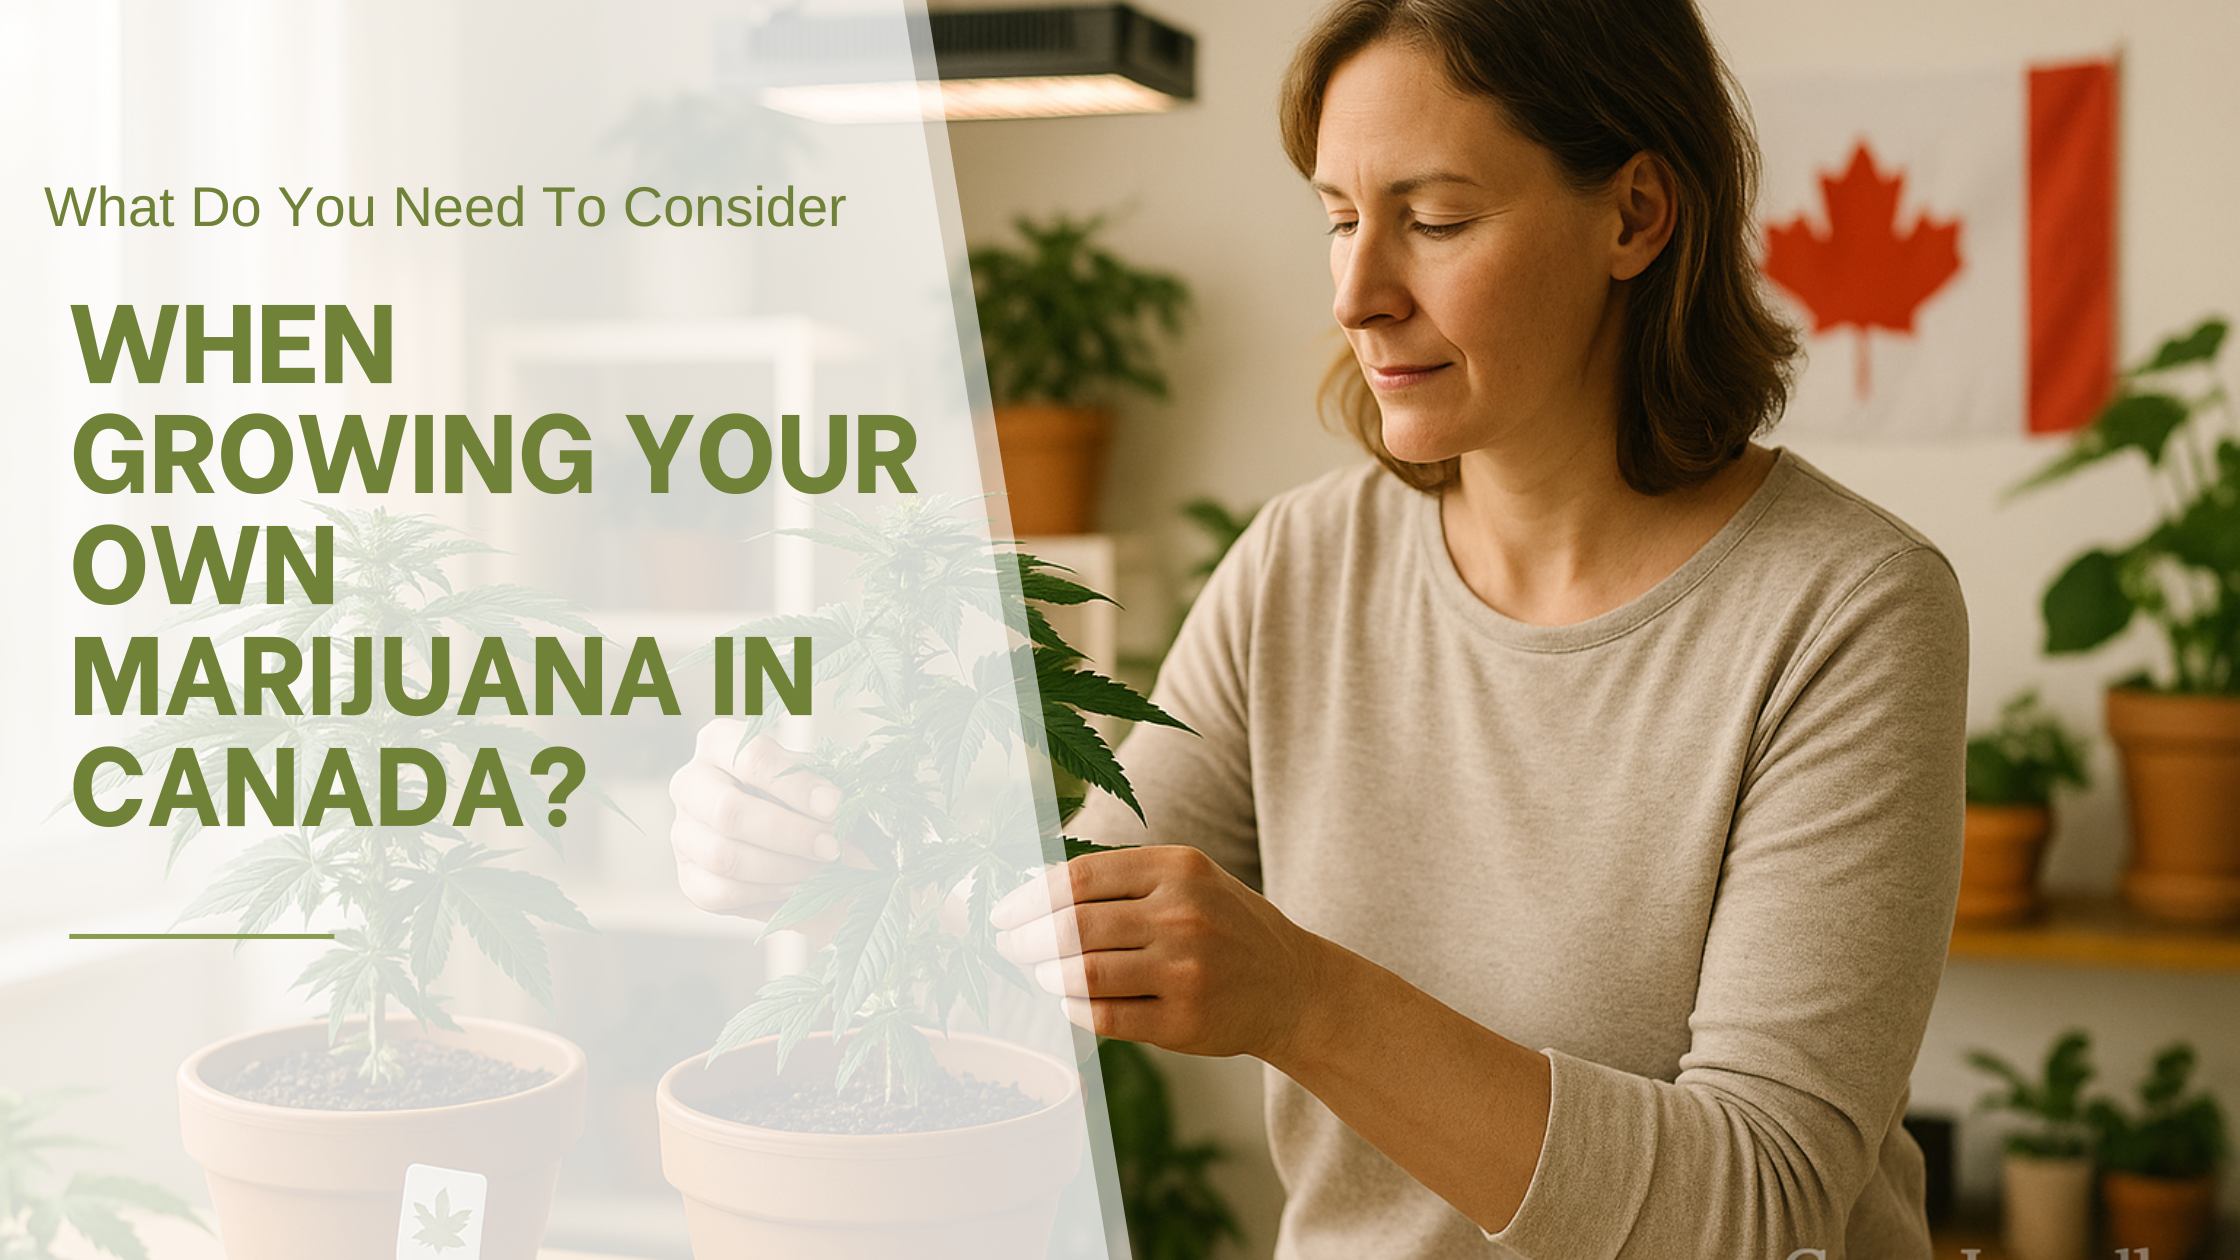
Let’s be honest—drying cannabis outdoors in Canada is far from ideal. It may sound convenient, but in reality, it’s risky, inconsistent, and often detrimental to your hard-earned harvest. Outdoor drying exposes your buds to fluctuating humidity, unpredictable weather, pests, and contamination. Even worse, it attracts unwanted attention—around harvest time, theft is unfortunately common. Large, aromatic plants can easily be spotted or smelled, and that makes them a target. Discretion and security are crucial. Keep your drying area private, locked, and hidden from view. Avoid sharing photos or details online, and consider using motion lights or small cameras to deter unwanted visitors.
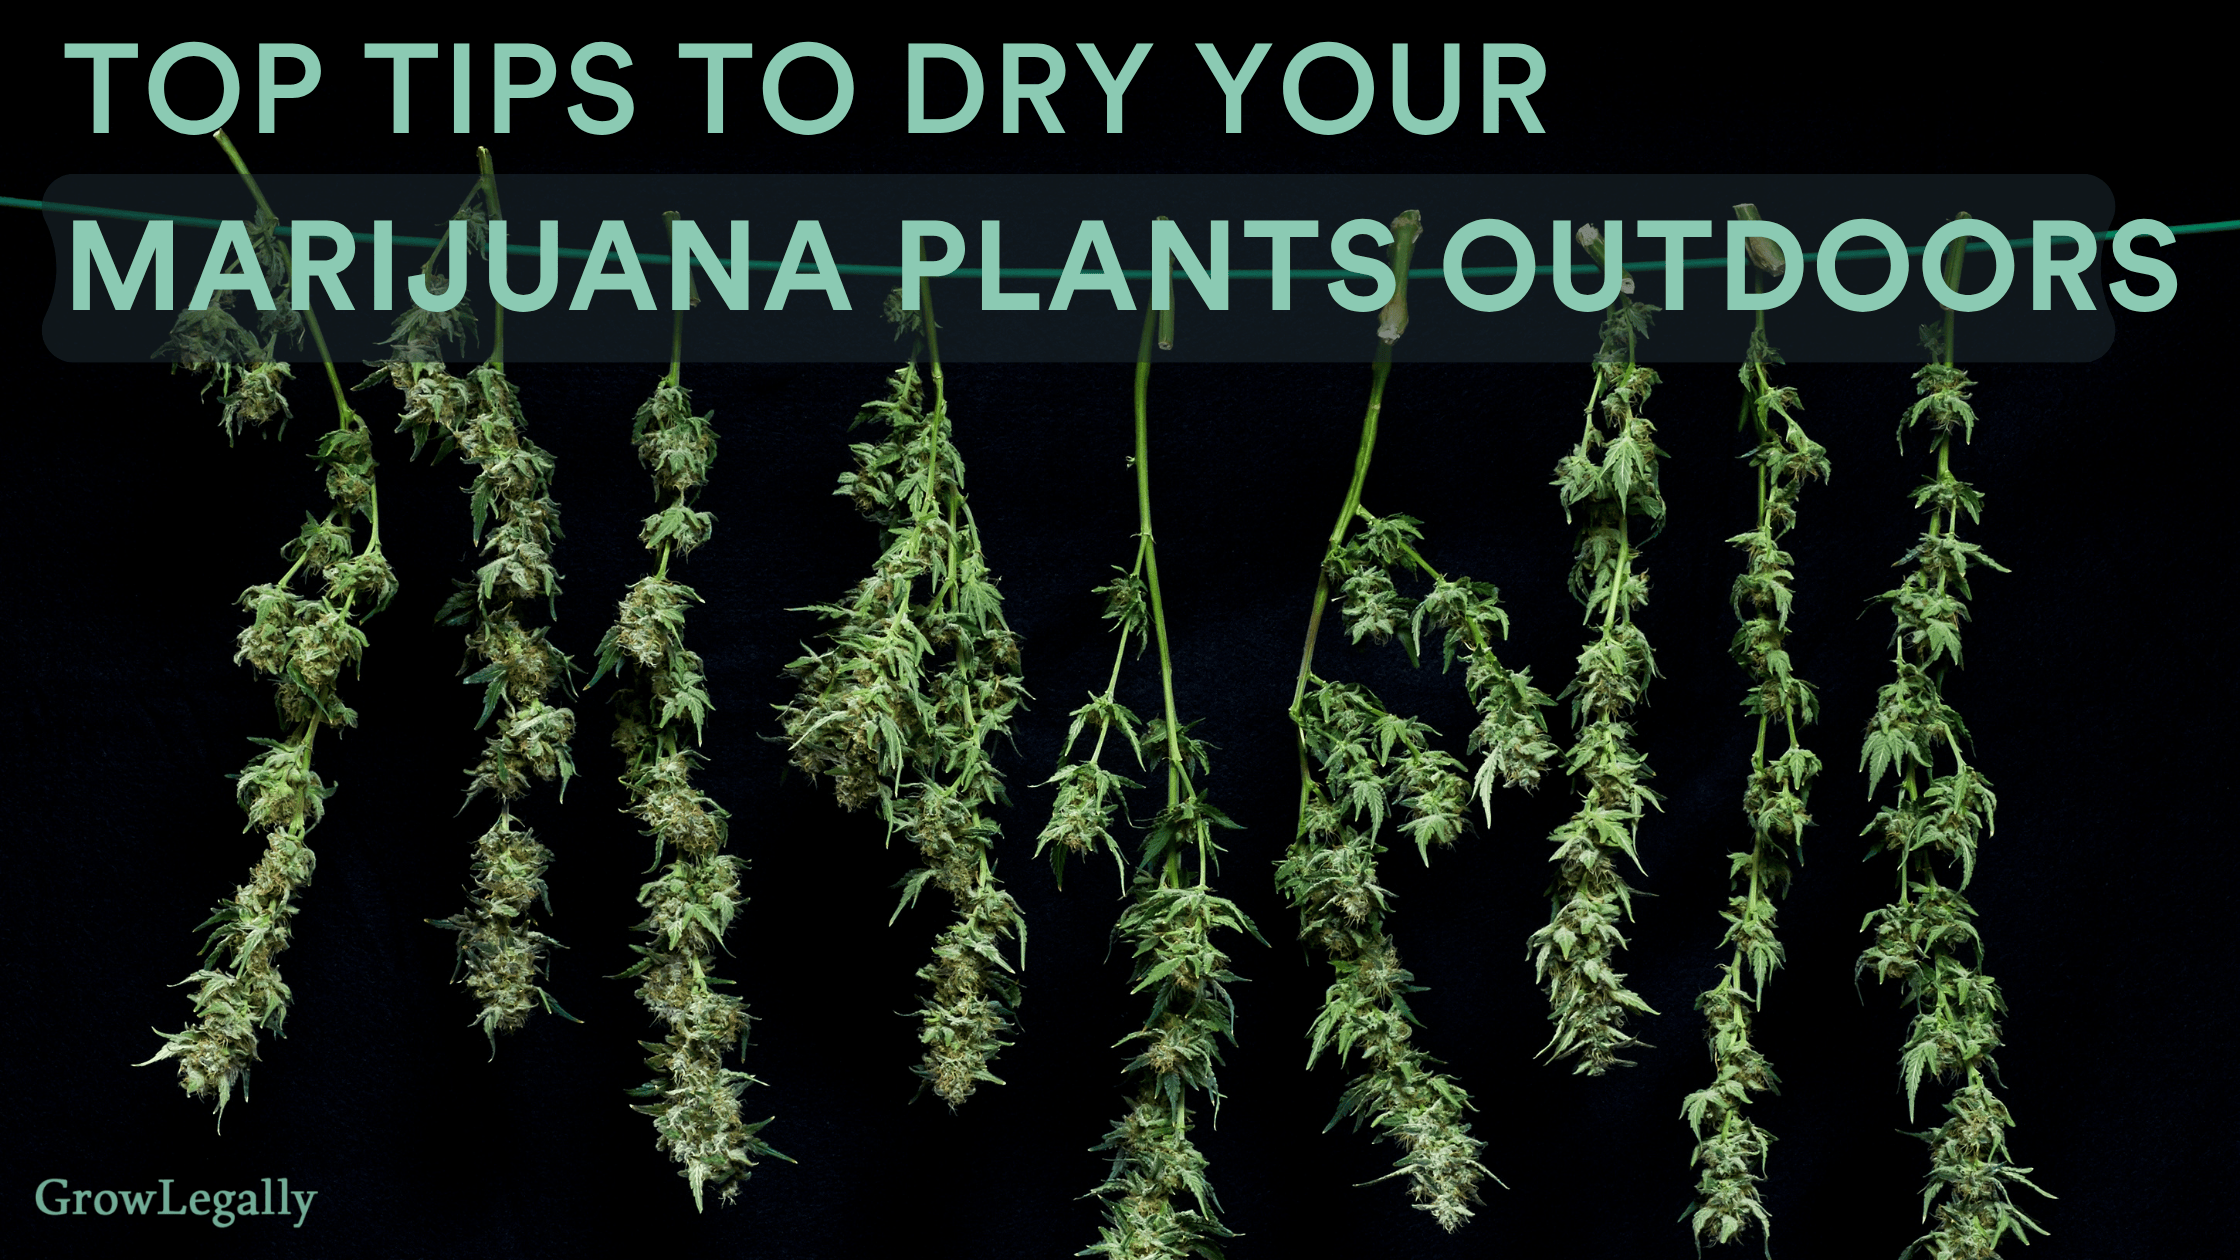
Whenever possible, dry your cannabis indoors in a controlled, well-ventilated space. A shaded, enclosed environment allows you to manage temperature and humidity, protect your buds from sunlight, and maintain consistent airflow. The ideal drying conditions are between 18–21°C with humidity around 50–60%. Hang trimmed buds upside down with space between each branch so air can move freely. Avoid crowding and stagnant air—good circulation prevents mould and preserves aroma. Use a small oscillating fan to gently move air through the space, but never point it directly at the buds.
Many experienced growers prefer to hang entire branches with the buds still attached to their stems rather than cutting buds off and placing them on drying racks. Keeping the buds on the stem allows moisture to evaporate more evenly, helping preserve natural oils and preventing the outer layers from drying too quickly. The stem acts like a slow-release channel for internal moisture, which can improve aroma and texture. While rack drying can be faster and space-saving, hanging the whole branch typically results in smoother, higher-quality cannabis with more consistent potency.
Drying typically takes 10 days to two weeks, depending on your local climate. During this time, resist the urge to rush—the slower the dry, the better the final result. When stems snap instead of bend, your buds are ready for curing. Place them in airtight glass jars, filling each about three-quarters full to allow airflow. Store the jars in a cool, dark space (around 18–20°C). For the first one to two weeks, open each jar once or twice daily for a few minutes—a process known as burping. This releases trapped moisture and replaces it with fresh air, reducing the risk of mould while gradually balancing humidity. After two weeks, burp the jars every few days. Full curing takes four to six weeks, during which cannabinoids and terpenes stabilize—enhancing taste, smoothness, and potency.
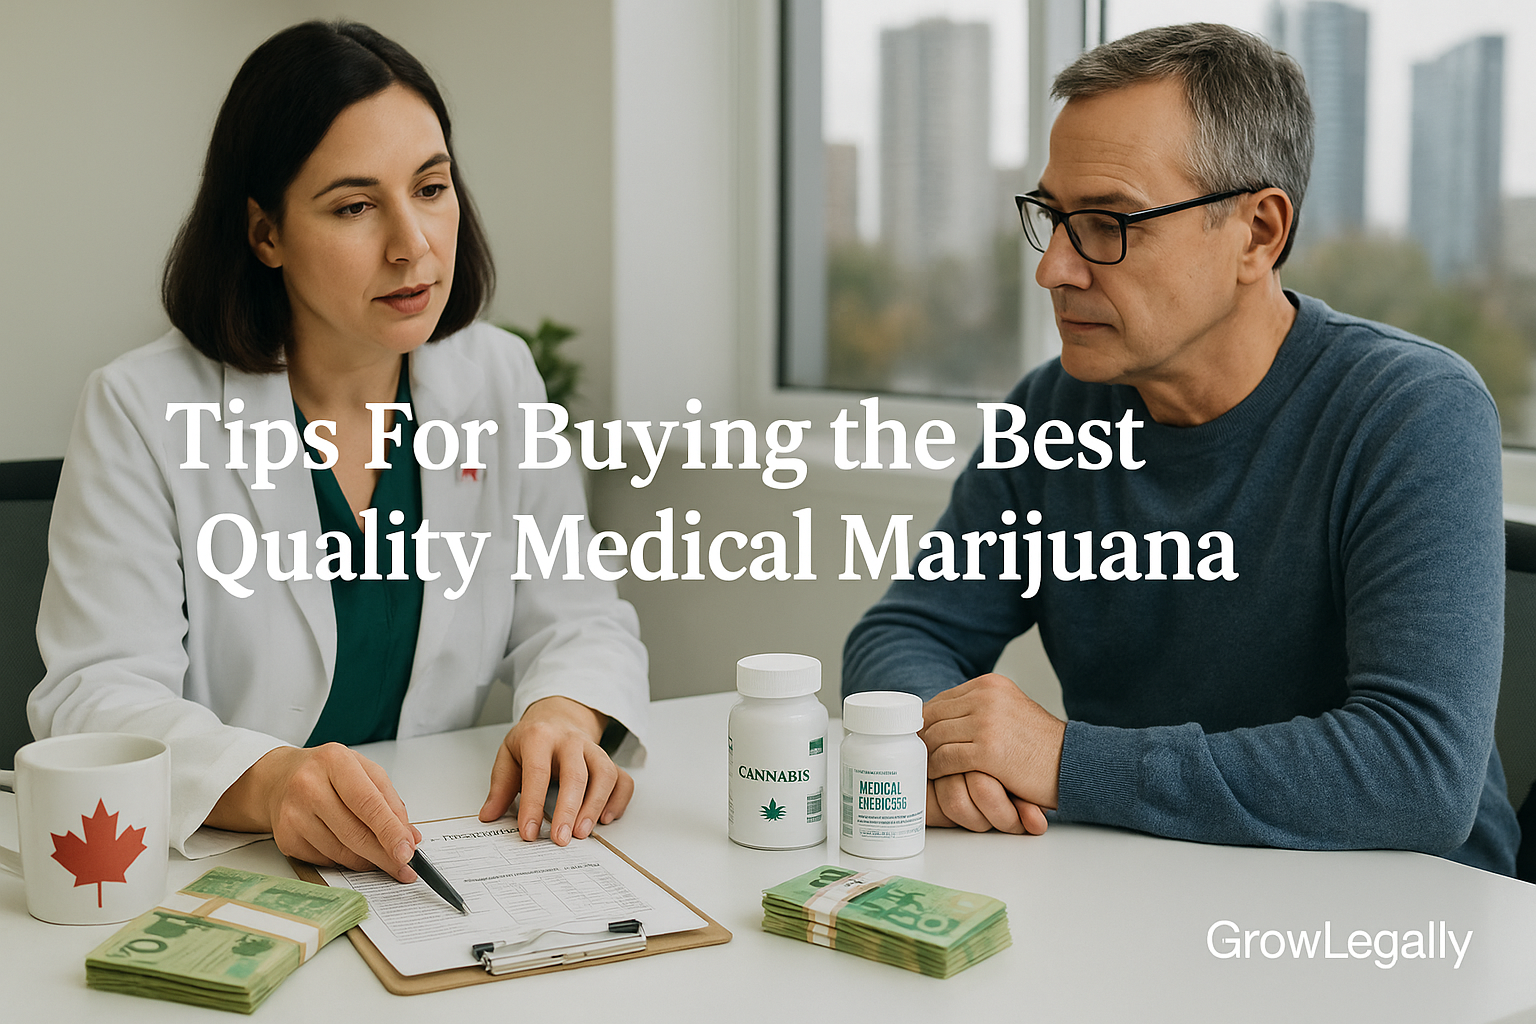
Proper drying and curing is a blend of science, care, and compliance. It’s one of the most rewarding steps of home cultivation under a medical cannabis grow licence in Canada. Whether you’re a new patient learning how to get a medical marijuana card in Ontario or a veteran managing PTSD with medical cannabis, this process connects you directly to your medicine and its healing potential.
Patient educators remind growers that quality control begins at home. Taking the time to dry and cure cannabis correctly protects your harvest, ensures consistency, and provides effective relief. To learn more about secure, Health Canada–approved cultivation, visit our medical cannabis clinic in Toronto or explore our veteran support program. GrowLegally provides compassionate guidance and free grow licence application support when registering with a licensed producer for your medicine.
Previous Post
Next Post

Storing Medical Cannabis – Learn how to properly store your cannabis and keep its potency strong.
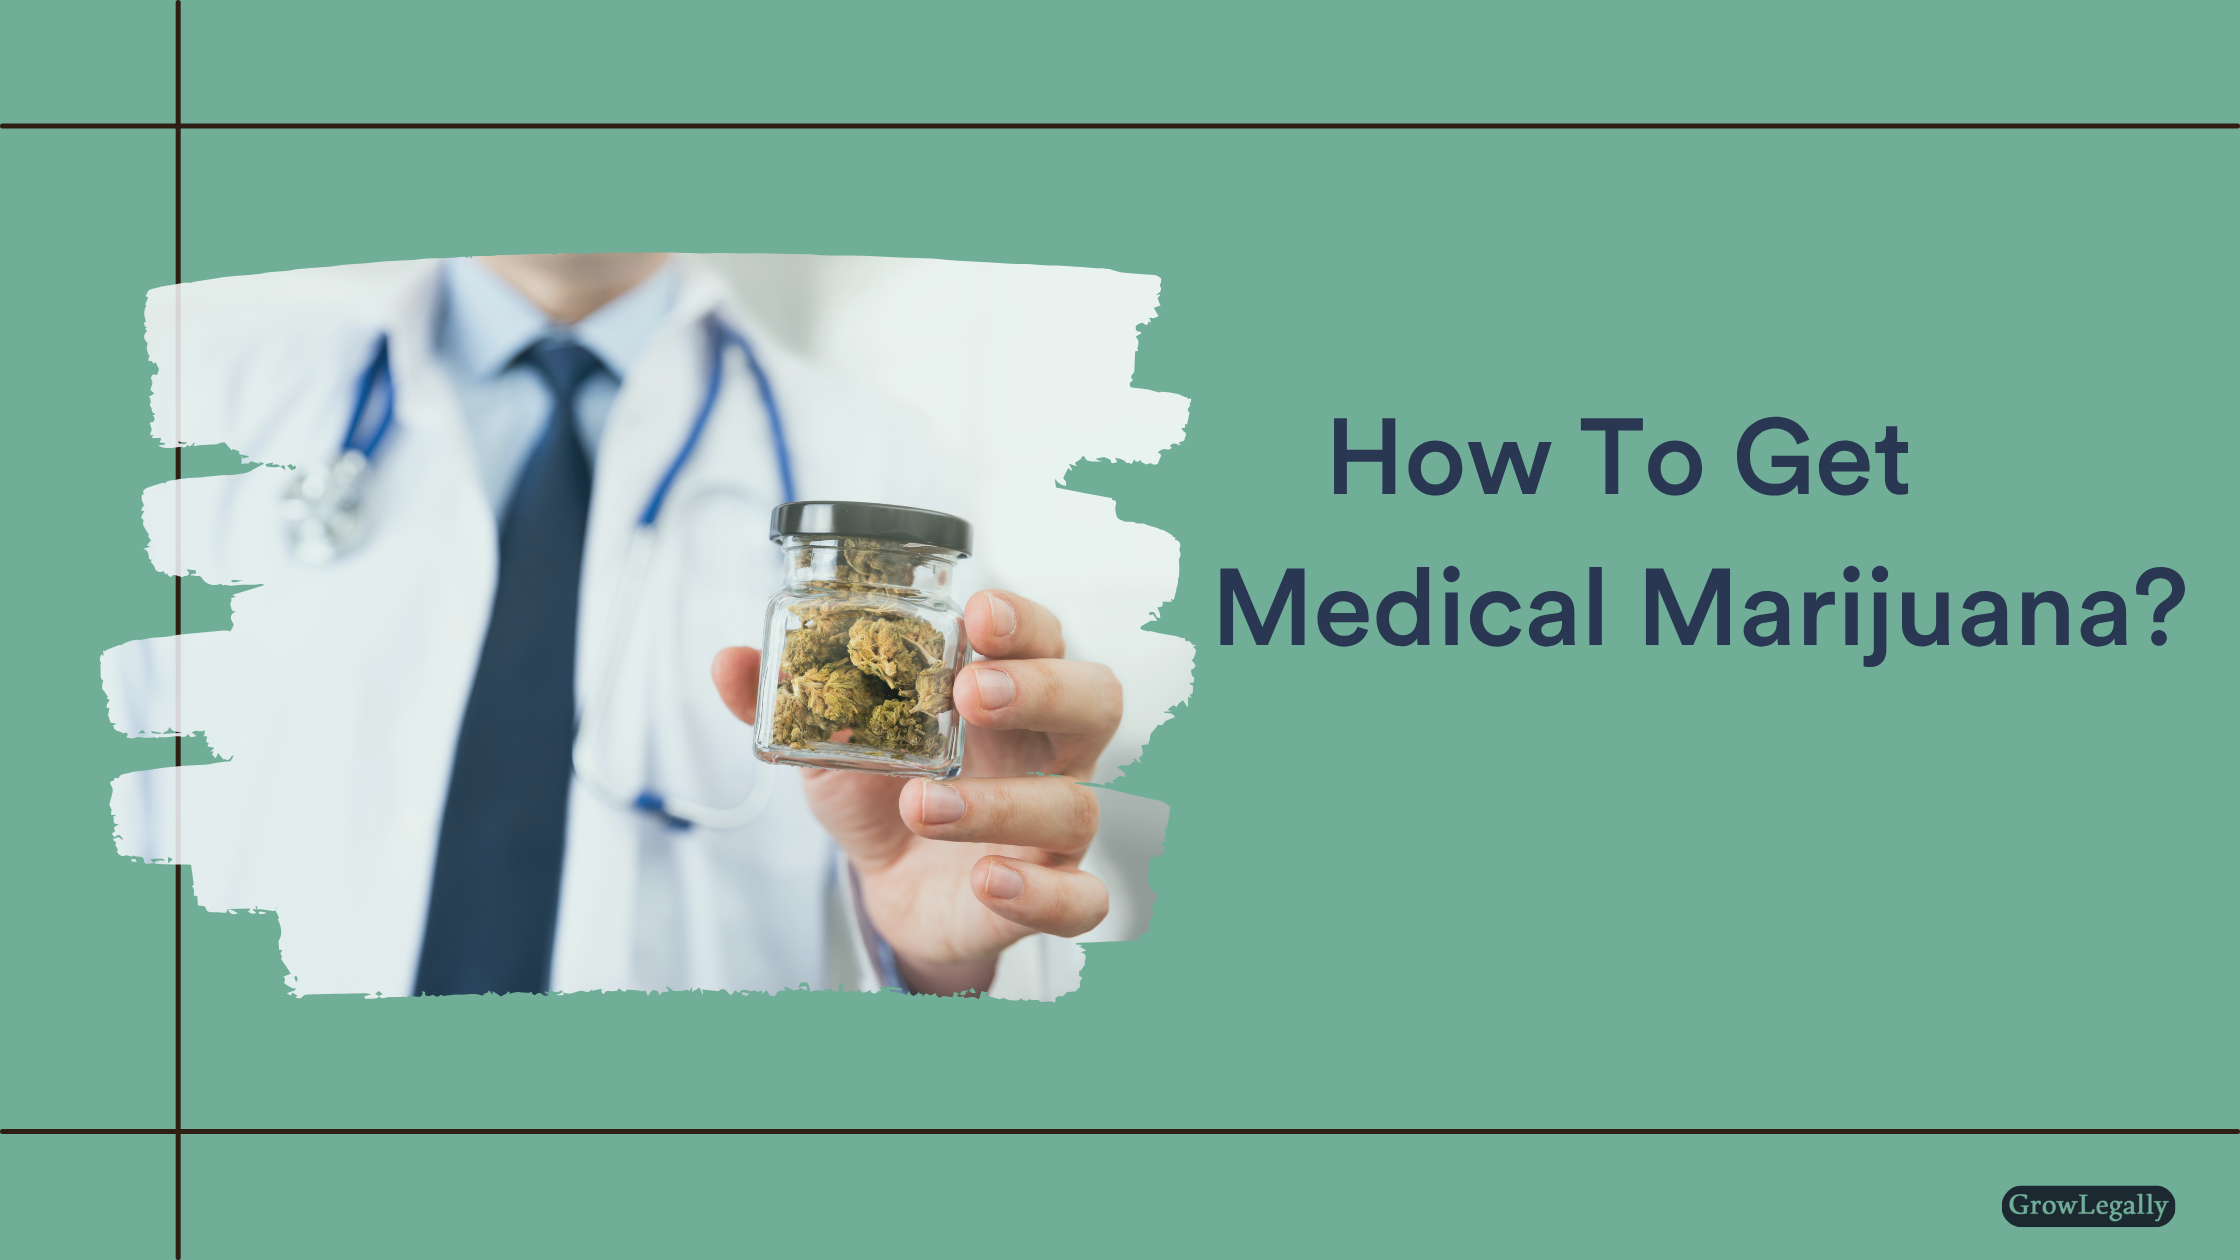
Go To PostBefore Acquiring Medical Marijuana, Here Are 2 Questions That Your Doctor Is Likely To Ask You (Plus a Bonus One!)
Go To PostTitle: 7 Types of People Who May Face Barriers to Medical Cannabis — and Why Expert Oversight Matters
Go To Post
.png)


.png)


.png)


GrowLegally Cannabis Clinic and Consulting
4711 Yonge St., 10th Floor
Toronto, Ontario M2N 6K8
Toll Free: 1.888.909.6336
Local: 1.647.931.7011

GrowLegally
Medical Cannabis Clinics and Commercial Licensing Consultants


.png)


.png)